Do You Need To Prime Wall Before Painting?
January 19, 2021
Should I Sand My Walls Before Painting?
March 16, 2021How To Prepare A Wall Before Painting?

How To Prepare A Wall Before Painting? Are you planning to paint a wall? If so, you need to find out how to prep it before the painting. Only when you prepare it correctly, the color of the paint will appear properly. Any carelessness in painting the wall can impact the look of the wall after the coat of paint.
Today, we will share with you a step-by-step procedure to prepare a wall before painting. Once you stick to this procedure, you can be sure that the wall with look excellent once you apply the coat of paint.
How To Prepare A Wall Before Painting?
The way to prep wall before painting is a simple 4 step procedure. We will highlight the step-by-step process below.
Step 1: Clean the wall:

The 1st thing you need to do is to clean the walls. The good news is that you need a sponge and warm water for the same. Using these 2, you can remove grime, oil as well as other contaminants from the wall.
If you’re dealing with kitchen walls, you can use a grease eliminating detergent as well. That will allow you to remove the stubborn stains as well as grease. It will give you a good and clean wall to work with.
Once you have done so, you can wipe off the walls with a damp cloth. A damp cloth can tackle leftover grime, residue, and stains. While choosing a cloth, you have to ensure that you choose the softest one you can find.
In case you do not want to take any chances, go with a microfibre cloth. Only after the walls are completely dry you can move onto the next step.
Step 2: Remove Mildew:

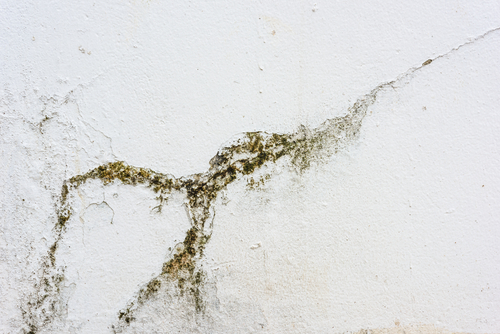
In case there is mildew on the wall, you have to undertake this extra step. If you are sure that the wall does not have mildew, you can skip this step and go to the next one.
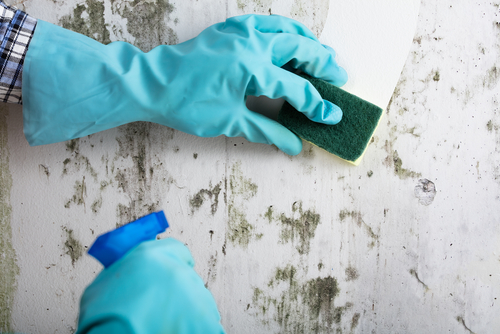
Firstly, you have to create a solution which consists of 3 parts of water and one part of bleach. In case you increase the proportion of bleach, it will deteriorate the upper layer of the wall. The finishing of the paint coat will not be up to the mark if you do remove mildew.
You have to apply the solution using the sponge. Once you do so, you have to let it be for a few minutes. After that, you can scrub the surface of the wall. Consequently, you have to rinse the area with clean water.
While completing this step, you have to ensure that you wear gloves and goggles as you’re dealing with mildew. After the wall is dry, you can move to the next step.
Step 3: Sand the wall:

After cleaning the wall, now is the time to sand the wall. Sanding is not necessary for every wall. However, if you want the paint coat to be entirely smooth, sanding is a step you should undertake.
For sanding, you can use sandpaper or a sanding block. You can reduce the unevenness of the surface using any of these two. The procedure of sanding is relatively simple. You have to use any of these tools against the wall.
Any impurities or deformities will even out. At least, you can reduce their extent. Once you do so, painting becomes much easier. After that, you have to use a damp cloth to wipe away the dust. Only when it is completely dry you can progress to the next step.
Step 4: Prime the wall:

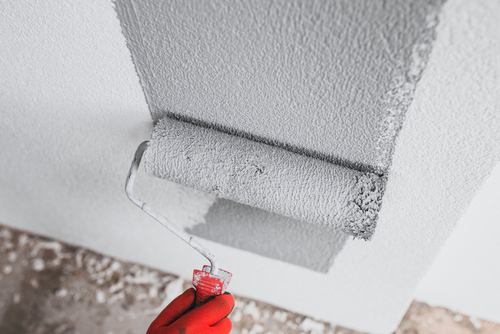
After this step, you have to prime the walls. The primer will form the foundation of the coat of paint. Primer can also increase the lifespan of the paint if you have porous walls or walls with stains.
Not only that, primer can hide any imperfections in your wall as well. It can ensure that there is a uniform coat of paint on your wall.
How To Prepare A Wall Before Painting? – Conclusion

When you follow this simple 4 step procedure, it will undoubtedly become more comfortable for you to prepare your wall before painting. Doing so ensures that the painting results are much better than usual. The lifespan of the coat of paint will also be better.
You have to keep this procedure in mind and after that start the process of painting.


